Why an electric aerial?
Electric aerials seem to have lost favour recently which is a pity as they have a high gain.
The modern "through the glass" options do not come close to having the gain of an electric aerial.
The disadvantages are two fold, expensive and usually needs a location which impacts the
vehicle with a large hole in the body work. Eventually this hole produces rust.
The aim here is no find a low impact attractive solution.
Hirschmann electric aerial.
Built in Germany and used as standard (OEM) equipment in many cars, although less so these days.
Long 1.0m mast. Quiet. Reliable. Cost £50.00 (about $70.00). Other cheaper makes are available.
I am told Hirschmann are discontinuing electric aerials soon so don't wait if you want this make.
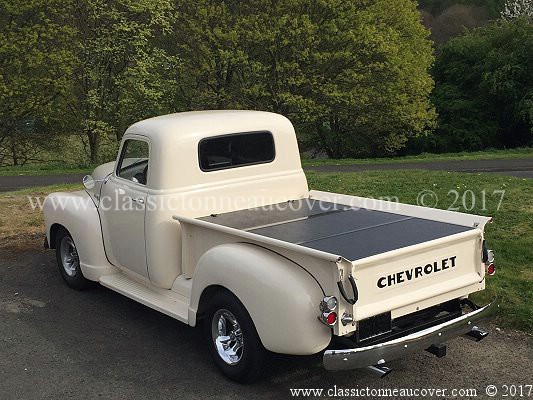
Where to fit it with (almost) "zero impact" on a classic truck?
Drilling the fenders / wings, is (for me) not an option. In fact drilling anywhere (that can be seen) not an option.
The location chosen is between the cab and the bed and the whole process is explained in a series of pictures below.


The process-
Make the stainless steel bracket.
Remove the left hand filler between bed and running boards.
Attach the new stainless steel (SS) bracket using the existing bolt hole which holds the (black) support.
Drill an extra hole in the filler piece. This hole can't be seen.
Alternatively use double sided tape if you don't want to drill a hole.
Something is needed to stop rotation of the bracket. A hole or tape.
Mount the aerial.
Fit the filler piece back on the truck. Note - to fit the filler piece back on the truck from below,
the SS bracket must only have the one existing hole / bolt fitted so it rotates out of the way
otherwise it whole assembly will not feed from below between the running board supports. The last bolt
to hold the SS bracket correctly can be fitted after the filler has been bolted back into place.
Stabilising the aerial.
The aerial needed an additional support to go between the two fixing holes in the bottom of
the aerial and the running boards. The bolt at the other end of the (black) filler support
bracket to was used to connect the new lower stabilising bracket to the bottom of the aerial.
Once again stainless steel was used and slots enabled easy adjustment of the exact position of
the aerial as it rose between the cab and the bed. I normally do the drawings on a computer
but I started sketching with a pen and thought I might as well finish it that way.


Wiring, testing, connecting.
Apart from the signal cable, there are 3 wires connect to the aerial. Black (earth), Red (+) and green.
The black (-) and red (+) need to be connected to the battery. An inline fuse in the red wire is provided.
The green is the control wire. If connect to + the aerial goes up and if connected to nothing the aerial
goes down. This can either be connected to the radio / aerial output wire for automatic use.
Or to a fuse and a switch for manual use.
(You might want to leave the aerial up at a show without turning on the radio?)
The wires can run along the bed, along a frame rail and into an appropriate place under the cab to the
radio. The cables will need to be lengthened. A good extension lead can be purchased to
extend the signal cable.
It will be necessary to set up the angle of the aerial / aerial mast and to do this the aerial needs to
be in the up position. Get a 12V battery and connect the black to (-) and the red and green to (+).
The aerial can then be adjusted to the correct angle between the bed and the cab and then tightened up.

Notes on positioning.
The reason the SS Bracket stands 120mm high is because if it was any lower, the aerial would hang down too low
(below the running boards). It can't be any higher than 120mm or the bracket will hit the bottom of the bed.
The position chosen for the aerial protects it from wind while driving.
In the down position the location is very discrete and the polished stainless steel looks good anyway.
Polished stainless steel matches other chrome and stainless parts on the truck and does not look out of place.
English and US spelling.
English - favour / US - favor.
English - stabilise / US stabilize.


